The Problem
Mr. Willauer needs new speaker mounts for his classroom! The speakers in the front of the room are starting to hang lower and appear that they are about to fall over. He would like us to use the Innovation Center and our expertise to help design a sleek new set of speaker mounts to make sure the speakers and ourselves are kept safe!
Researching
$79.99
|
$62.95
|
$4.87
|
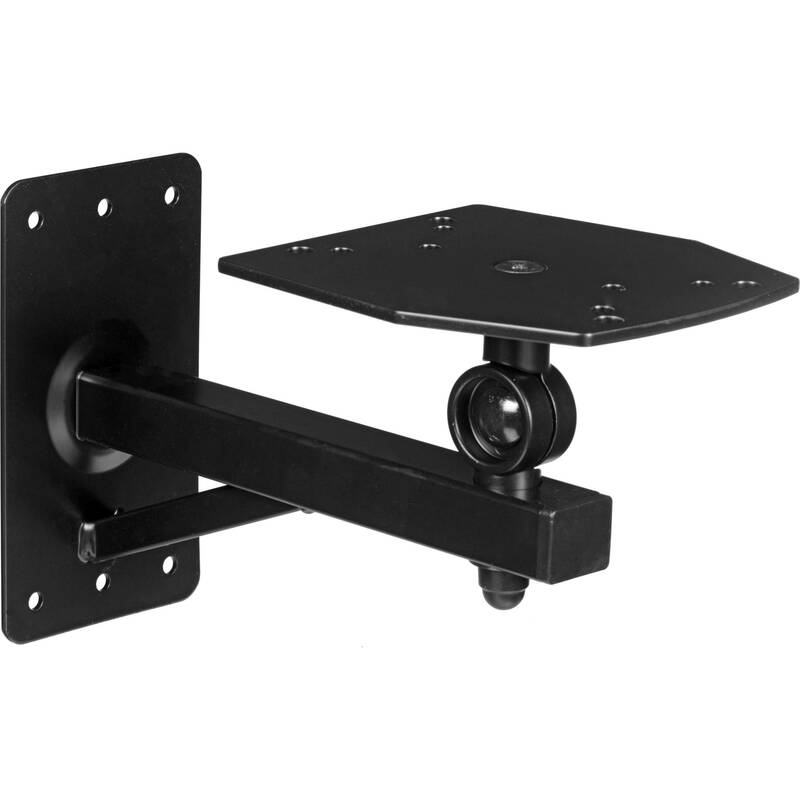
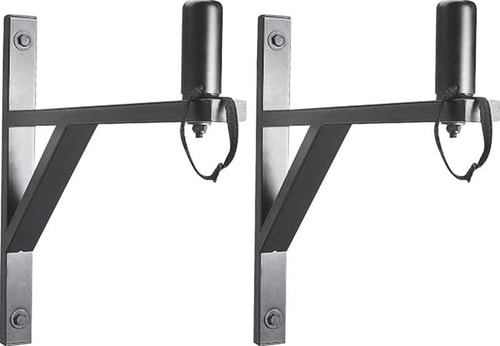
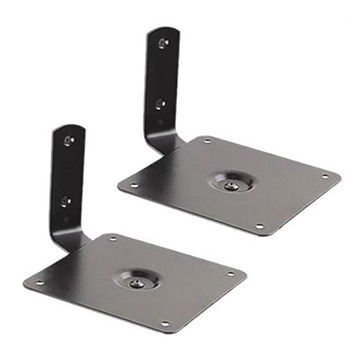
In my research I came up with these three designs to go off of. All three of these are made out of steel. In our project they are going to be 3d printed out of plastic. These all cost way more than it would to create our own and print it out of plastic. I plan on taking a few aspects of each one to incorporate into my design.
Initial Sketches
|
|
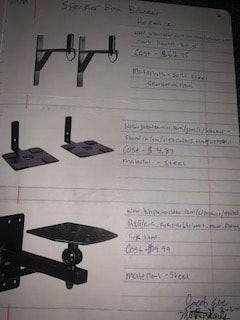
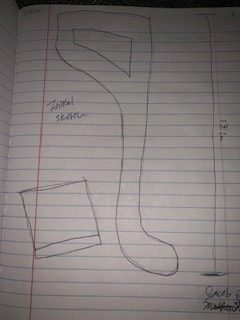
These are pages from my designer notebook that contain the research and development of my 3-D redesign project. They show the research I did before the project, specific constraints and criteria for the speaker bracket, as well as the final design of the product.
Creating My IDEA
|
|
|
|
|
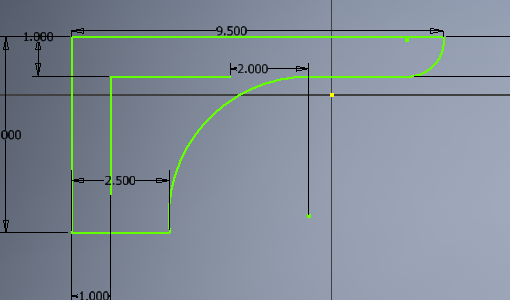
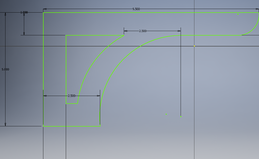
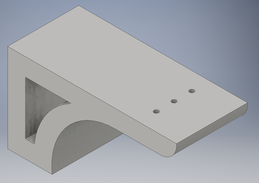
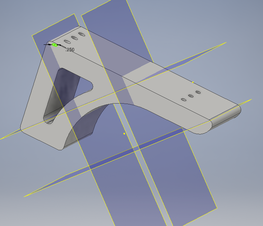
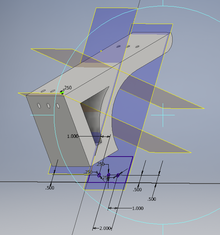
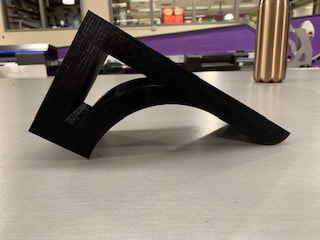
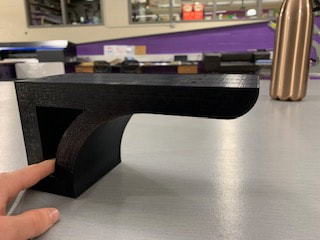
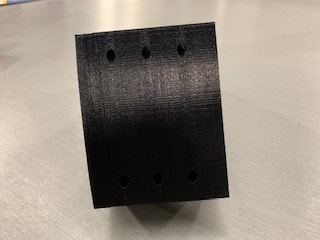
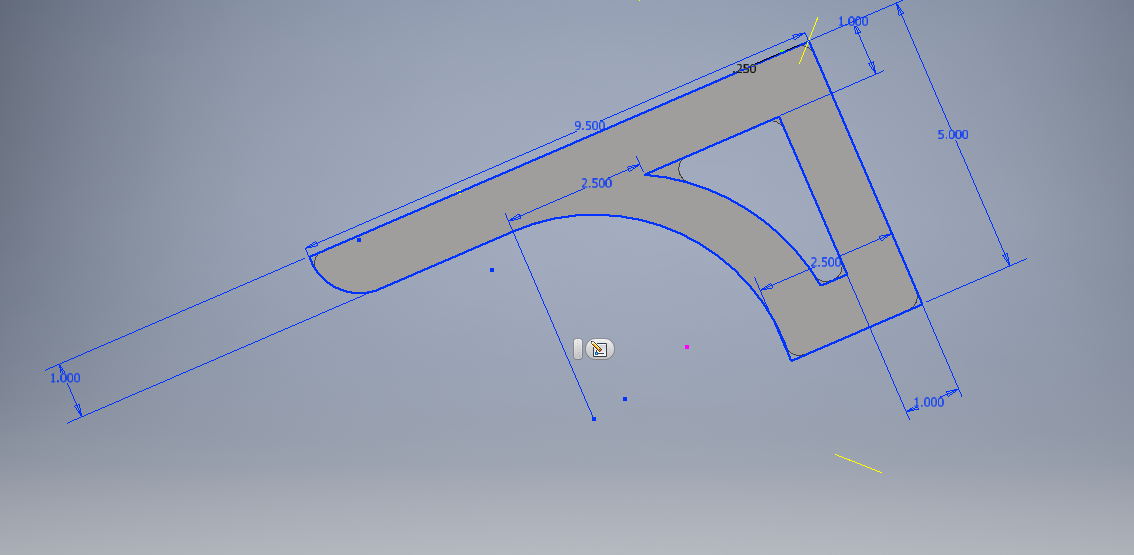
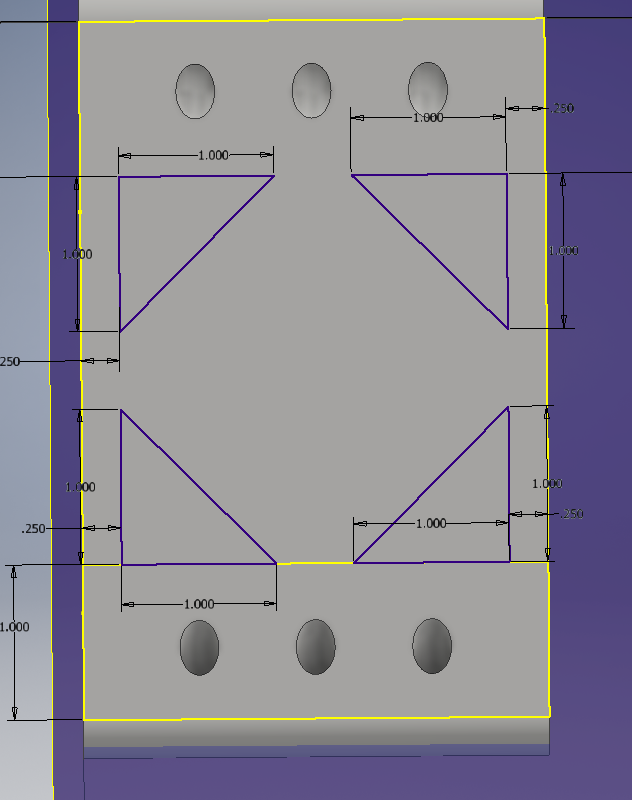
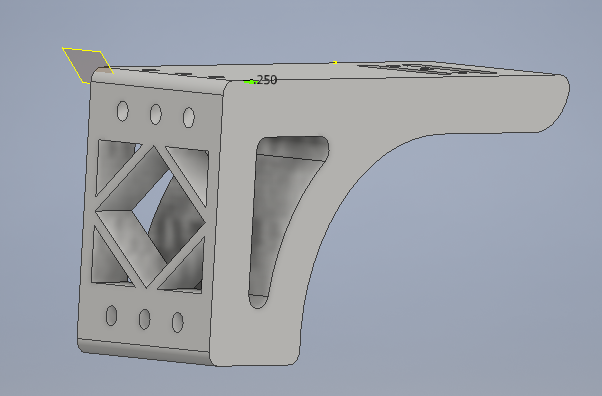
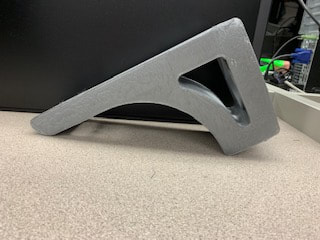
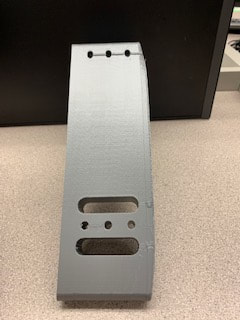
To begin my redesign project I opened inventor and started experimenting with the design. I then came to the idea seen in photos one and two. Once I got the sketch down I extruded it created holes on the top, to secure the speaker to the bracket as seen in photo three. The next step was coming up with a way to secure it to the wall. My idea was to put it underneath the speaker and screw it into the concrete walls. As seen in photos four and five I created an angle plane, so that the holes for the screws would go in at a 45 degree angle. Once I drew the holes I extruded them through the bracket.
Setting Up For Print
|
|
|
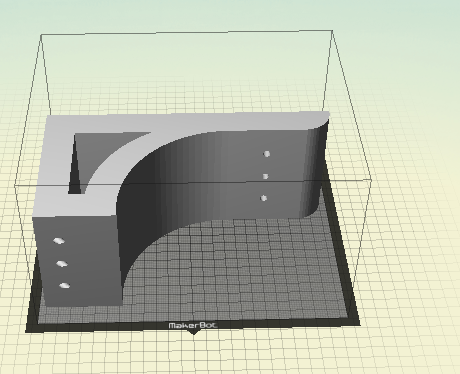
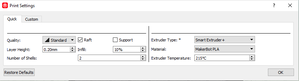
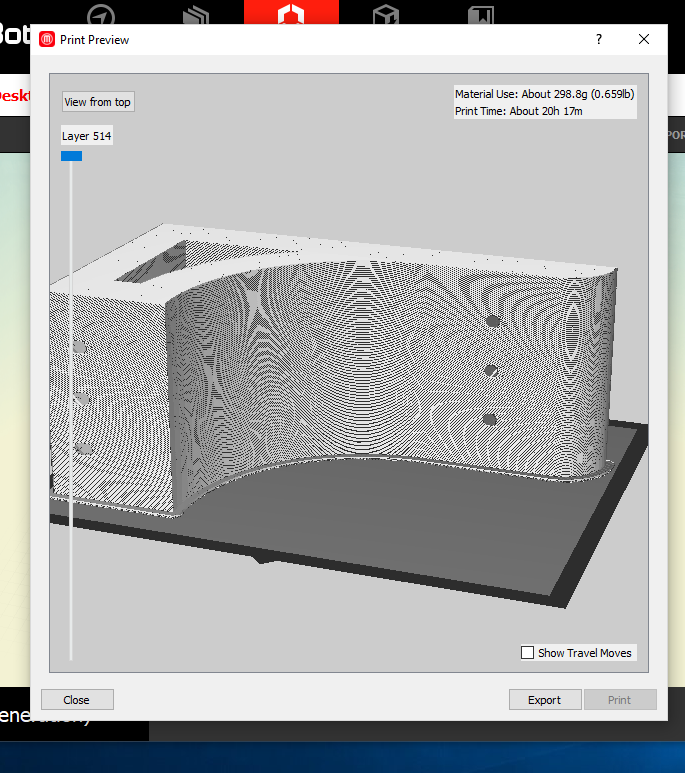
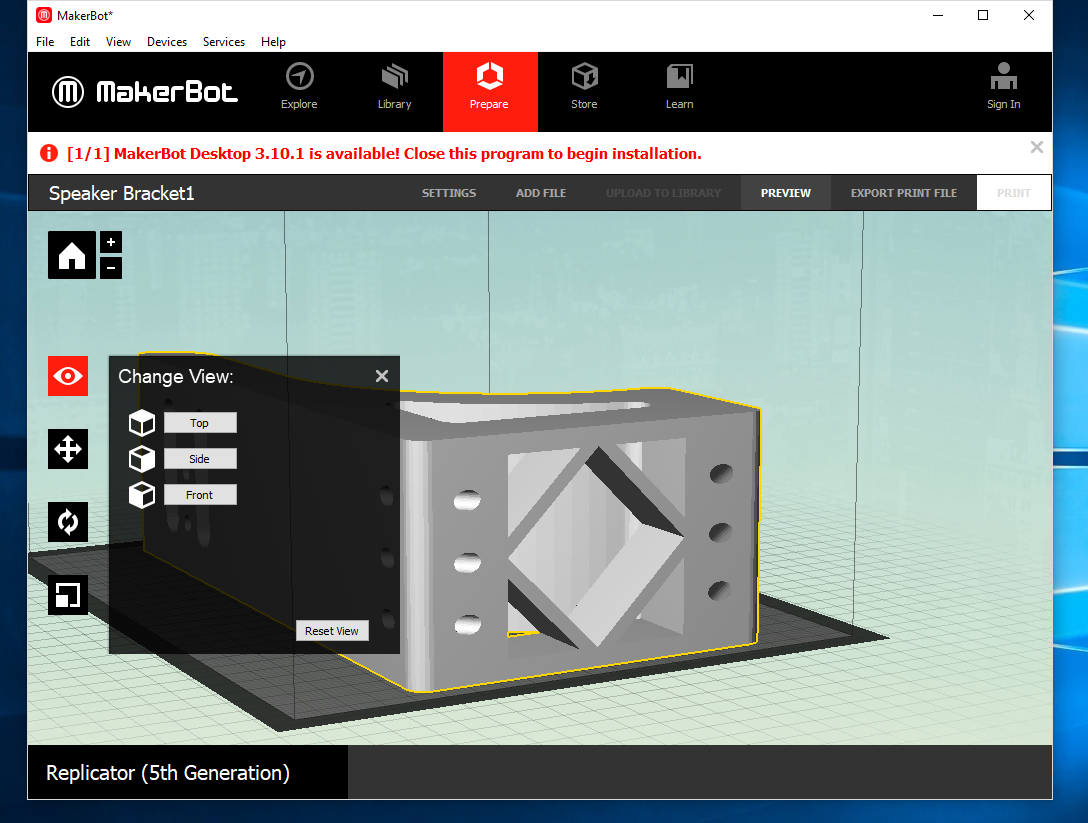
After completing the design for the bracket in Autodesk Inventor, I exported the file in Inventor, and converted it to a STL file. Then I put the file into Maker Bot as seen in photo one. After that I changed the settings to fit my project and the Maker Bot as seen in photo two. Then I previewed the file and exported it to print, as seen in photo three.
Printing My Bracket
|
|
|
|
|
|
|
|
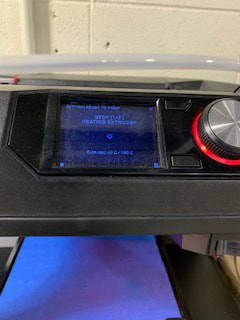
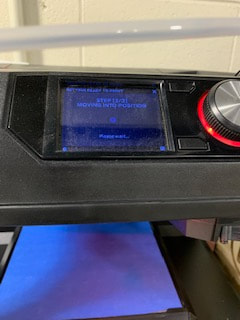
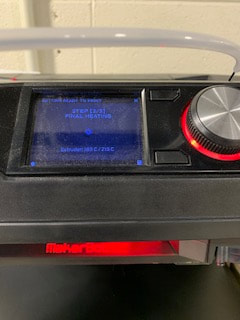
Once I created the Maker Bot file I transferred it to a flash drive and uploaded it onto the Maker Bot 3-D Printer. The printer then wen through its steps for getting ready to print. Those steps are heating the extruder, moving into position, and final heating, as seen in first three photos. After that I had to wait for the printer to print out the raft, which is the piece that the printer prints your creation on top of. Once that prints then it prints your project. The total print time was 20 Hours and 17 Minutes.
Redesigning The Redesign
|
|
|
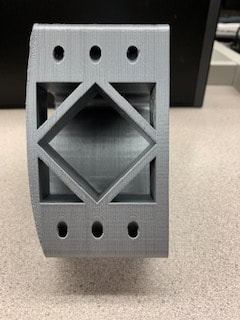
After review and testing of my original idea I came to the conclusion that it was not going to meet the requirements of this project. It did not work because the mounting system was going to be too hard to hang it on the concrete walls. It also didn't have smooth edges so that if it were to fall on someone, they wouldn't get hit with a 90 degree corner. To redesign it I made it an inch smaller in width, I created a design on the back as well as the top, I also made all of the exterior corners rounded. The other big change I made was mounting them on the sides of the speakers instead of on the bottom.
Setting Up For Print #2
|
|

|
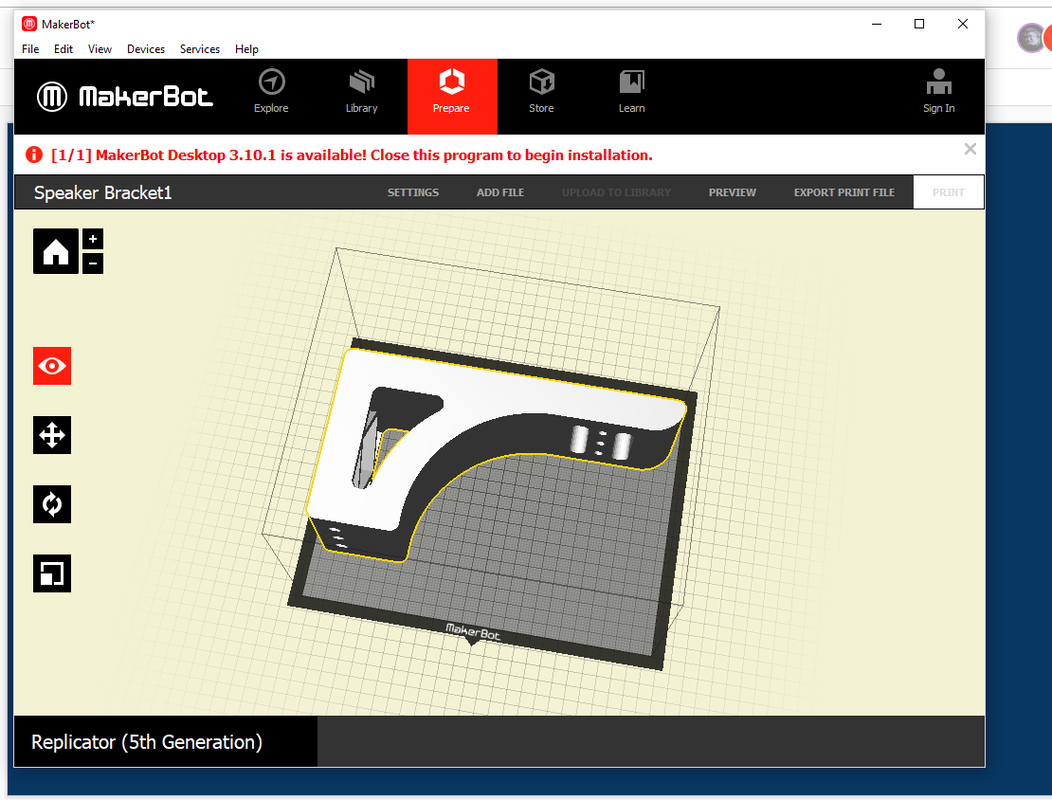
The steps to setting up the file for print are the same as my original one except for the fact I needed to add supports to hold up pieces of the project (see Setting Up For Print).
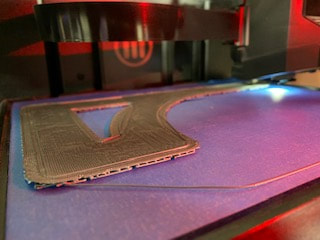
Printing My Bracket #2
|

|
|
|

|
|
|
|
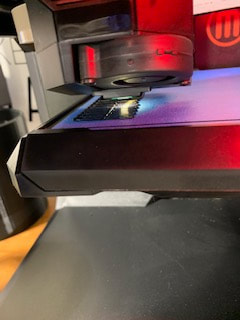
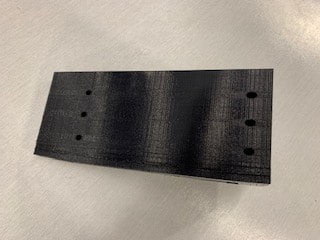
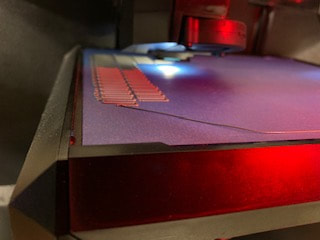
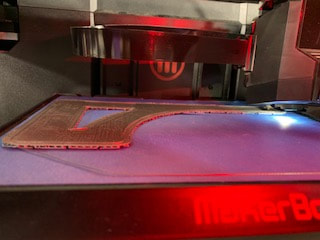
Printing this bracket took the same steps as it did the first time (see Printing My Bracket). The bracket did not turn out the way I was hoping it would. If you look at the two pictures of the bracket on the right, you will see that it warped during printing. Due to the time constraints I did not have time to print another one. I do believe that it would have turned out better if I printed it another time. The total print time for this bracket was about 17 Hours.
Summary
Throughout this project I learned a lot of valuable tips and tricks to produce the best outcome on a project. One of the most important things that I learned was how to take ordinary object and put my own twist on it to make something that looks good, is cost effective, as well as functional. I also learned a couple new features as well as fine tuning my knowledge on a few of them in Inventor. These features include an angled work plane, creating arcs, creating holes, and rounding edges. Finally I also learned through a couple trials and errors, how to effectively design and print a working bracket that fits all criteria. I am overall happy with my abilities and how the project turned out.
