Picking A Project
|
|
|
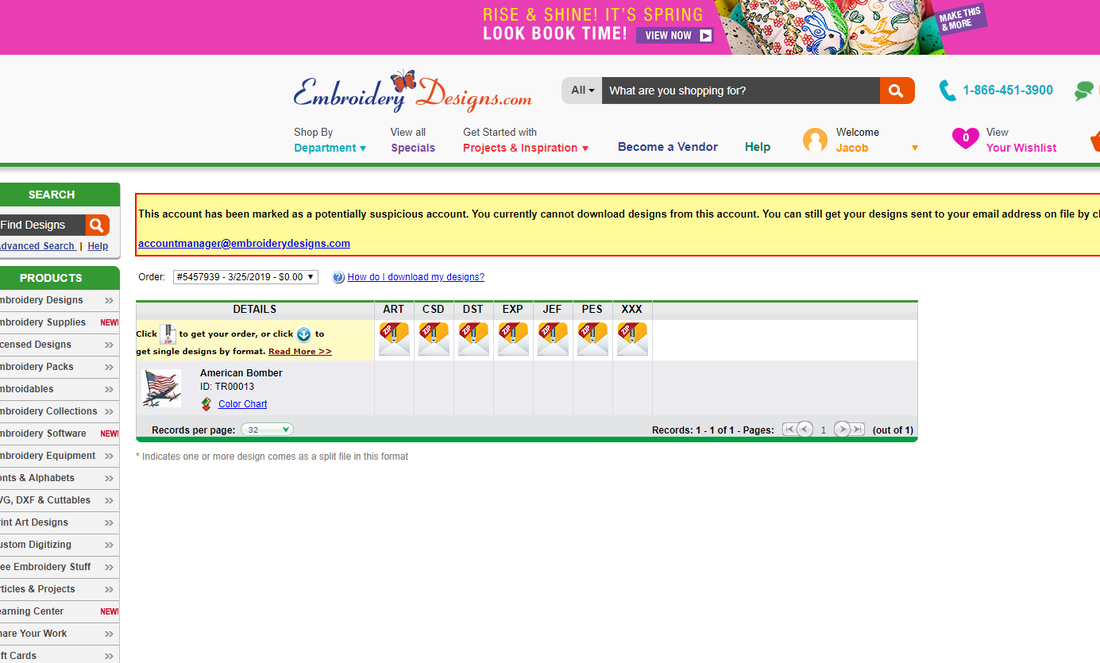
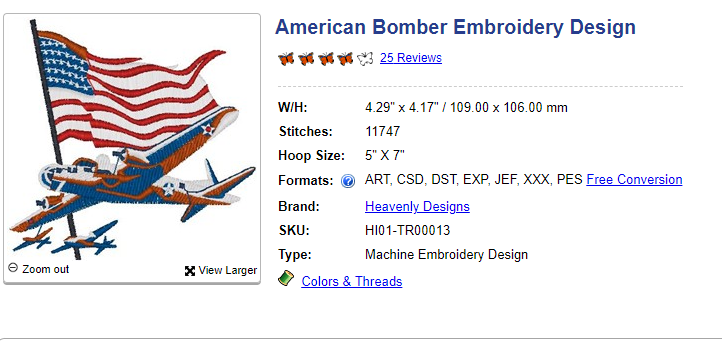
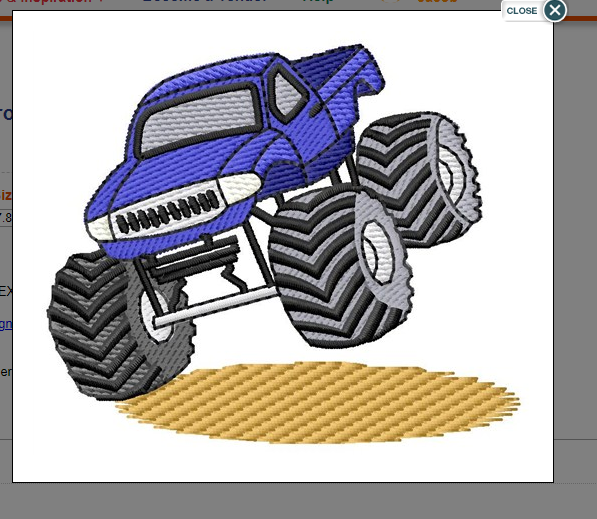
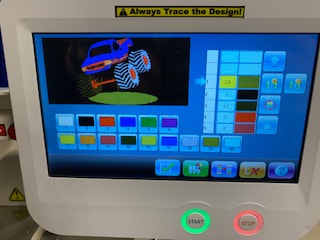
The first thing I did was browse a couple free embroidery design websites for a design that I liked. I finally choose a couple of designs that I liked from https://www.embroiderydesigns.com/. My first choice was the American Bomber but after problems during printing, I had to go to my backup option of the monster truck. Both designs are shown above. Both designs also meet the minimum amount of colors required for this project.
Setting Up The Print
|
|
|
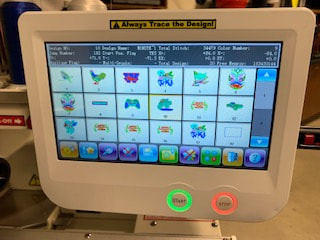
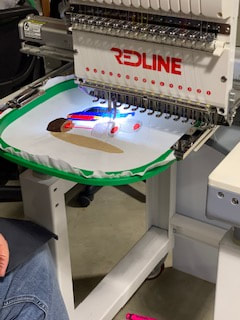
Once I selected and set up my file, I transferred it to my flash-drive and then to the embroidery machine. Once the file was loaded, I selected the colors I wanted for the design. In the picture on the right it shows the final colors selected for my print.
Preparing The Embroidery Machine
|
|
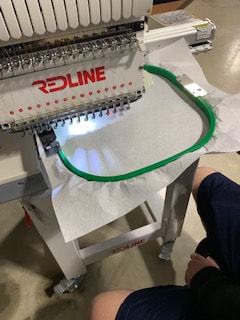
|
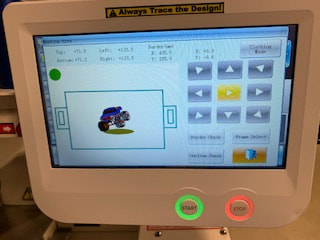
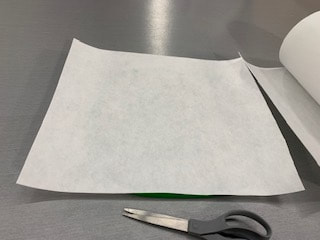
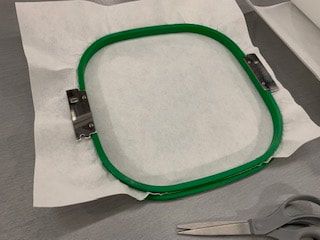
Once the file was ready for print, I prepared the hoop. To do this I cut a piece of backing material, placed it on top of the bottom hoop, and pressed it between the two rings. The hoop size I used was size "B". Then, I placed the hoop into the machine, and then ran an outline check to make sure that the design didn't go outside the hoop.
Printing
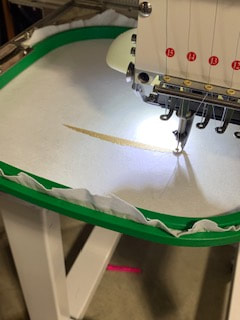
|
|
|
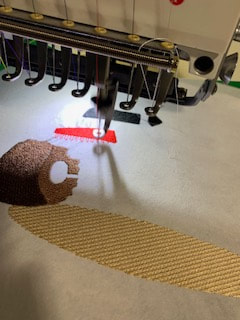
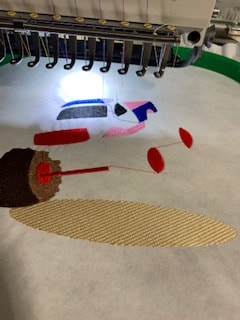
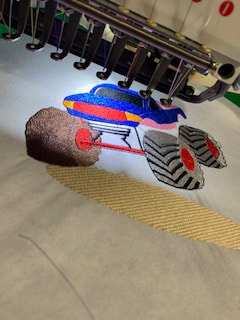
Then, I pressed start, and it started embroidering on the backing material. The machine started by doing tan oval on the bottom. After that it did the base colors of the tires. Then, it started embroidered the wheels, grille, and axle. After that it moved on to under body and part of the body.
|
|
Once it was done with each color, the machine would cut the thread and move onto the next color. After the body was done it embroidered the lights, windshield, and treads. After it finished all of the parts it went back and touched up the edges. This is where I ran into a problem. When it cut, the threads came out of the needle and had to be re-threaded for each color it was using a second time. The design ended up using around 34,000 stitches, and took about an hour and fifteen minutes to make.
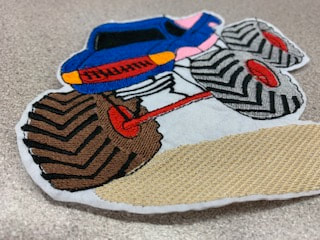
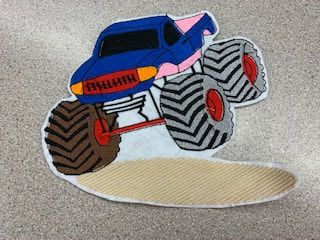
Final Product
|
|

|
Summary
In the course of this project, I learned what embroidery was and expanded my knowledge on how to embroider. The first thing I learned is what embroidery actually was. I had a general idea in my head but I didn't really know what it really was. I also learned the steps to setup and embroider something on this machine. I didn't know what I was doing in the beginning, but after a little help from Mr. Willauer, I learned how to work its interface and what buttons performed different tasks. I also learned how to thread a needle after watching Mr. Willauer do it what felt like 100 times on my first design because it broke every 5 seconds. In this project I also learned that some files just won't work on the machine, like my airplane file I originally choose. After learning all of these things throughout this project, I will be able to create more complicated and intricate designs in the future, without having the problems that I did during this unit.
