Introduction to Arduino
Arduino is an open-source hardware and software company, project and user community that designs and manufactures single-board microcontrollers and microcontroller kits for building digital devices and interactive objects that can sense and control both physically and digitally. The kits that we have at school are designed for beginner programers like us. For our project we had to complete 13 individual Arduino projects.
First Few Projects
|
|
|
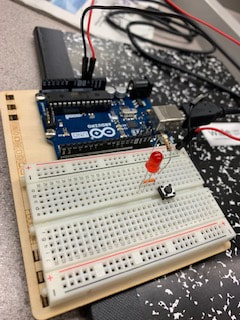
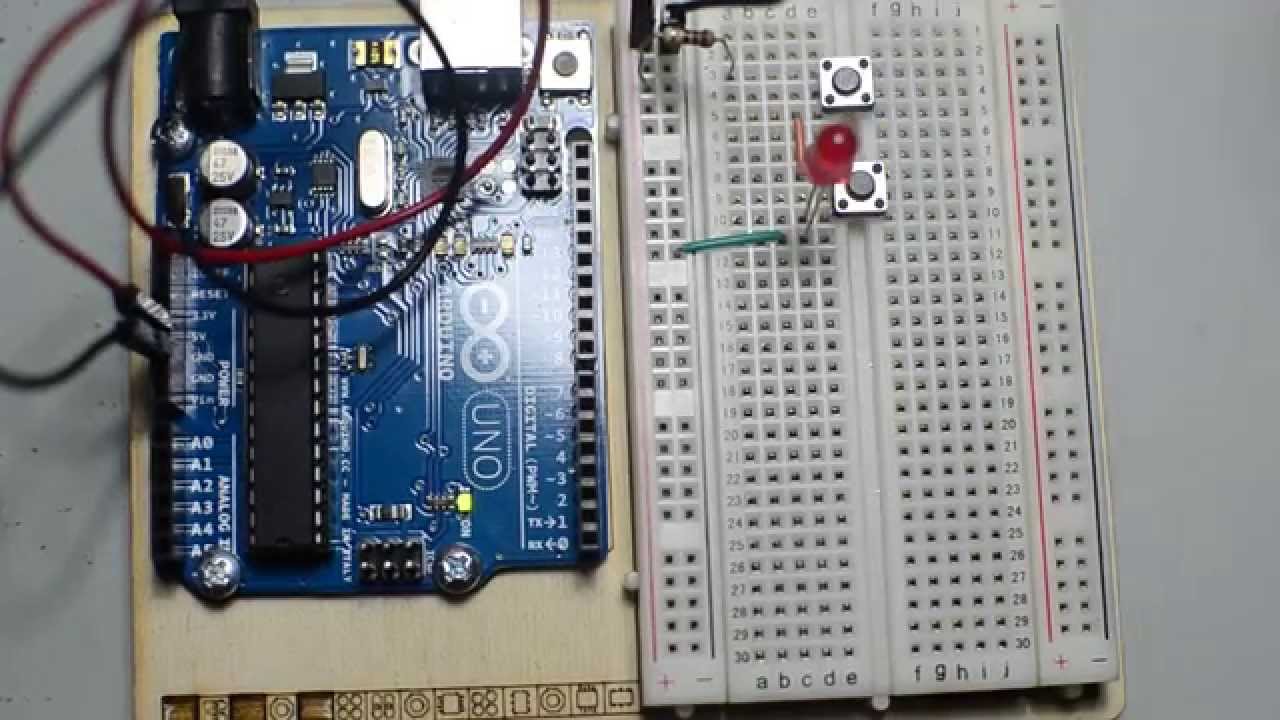
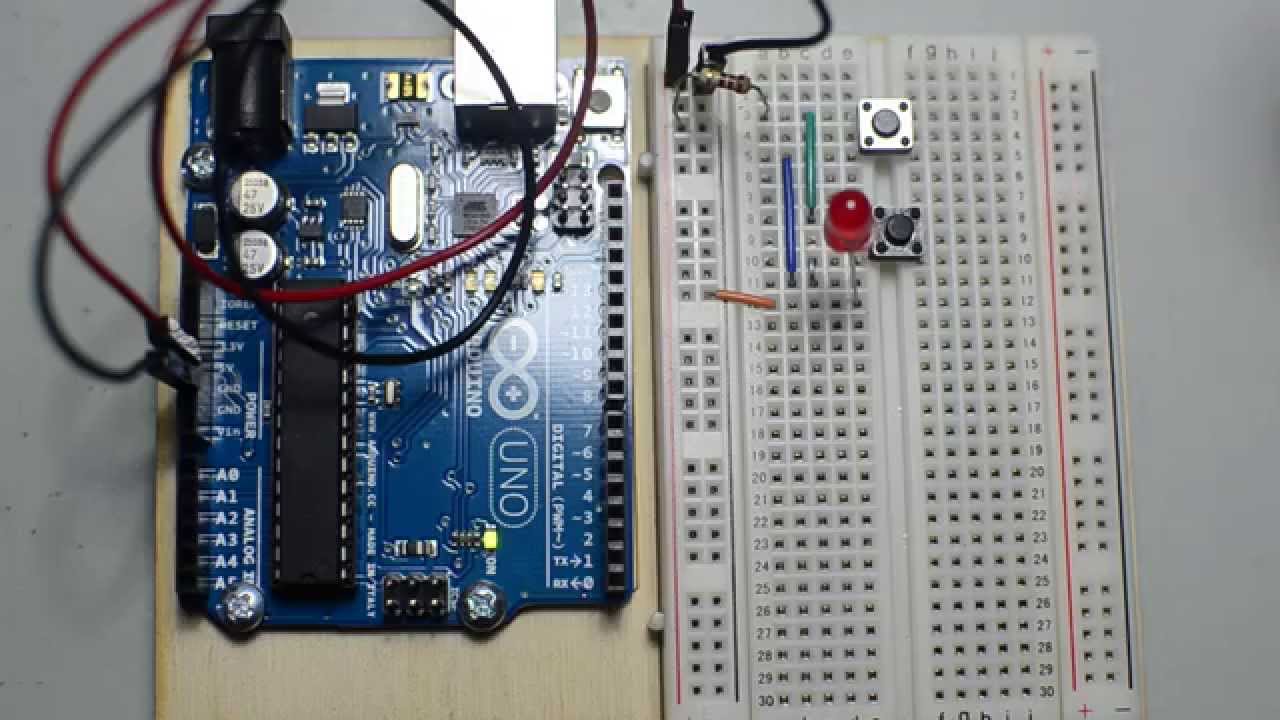
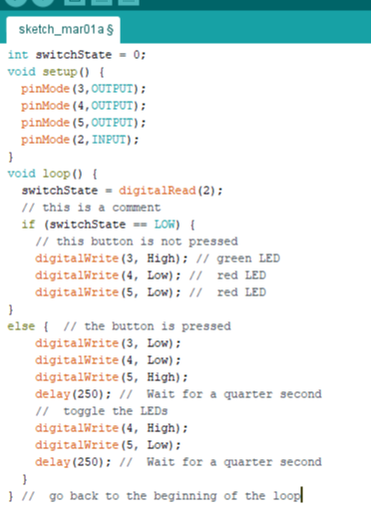
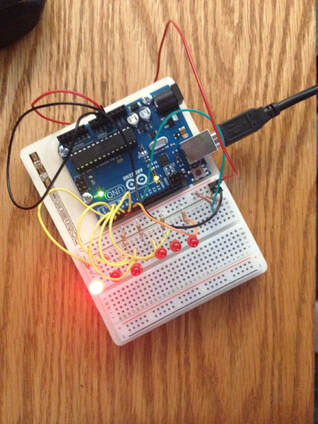
In the first few Arduino projects, I learned the basics about Arduino, such as terms for basic components and how to write code. These projects helped me learn the different circuit types, such as series and parallel circuits. These projects showed how to build a breadboard to do different projects.
Project 2~Spaceship Interface
|
|
In the second Arduino project, I first learned how to work with the breadboard components, as well as, manipulating the Arduino coding in order to work for the project. I learned how use delays on this project to create a successful, woking project.
Project 3~Love-O-Meter
|
|
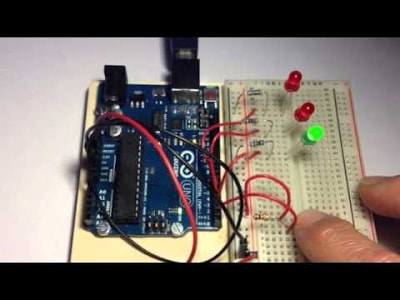
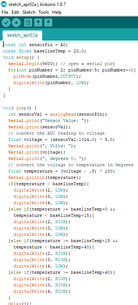
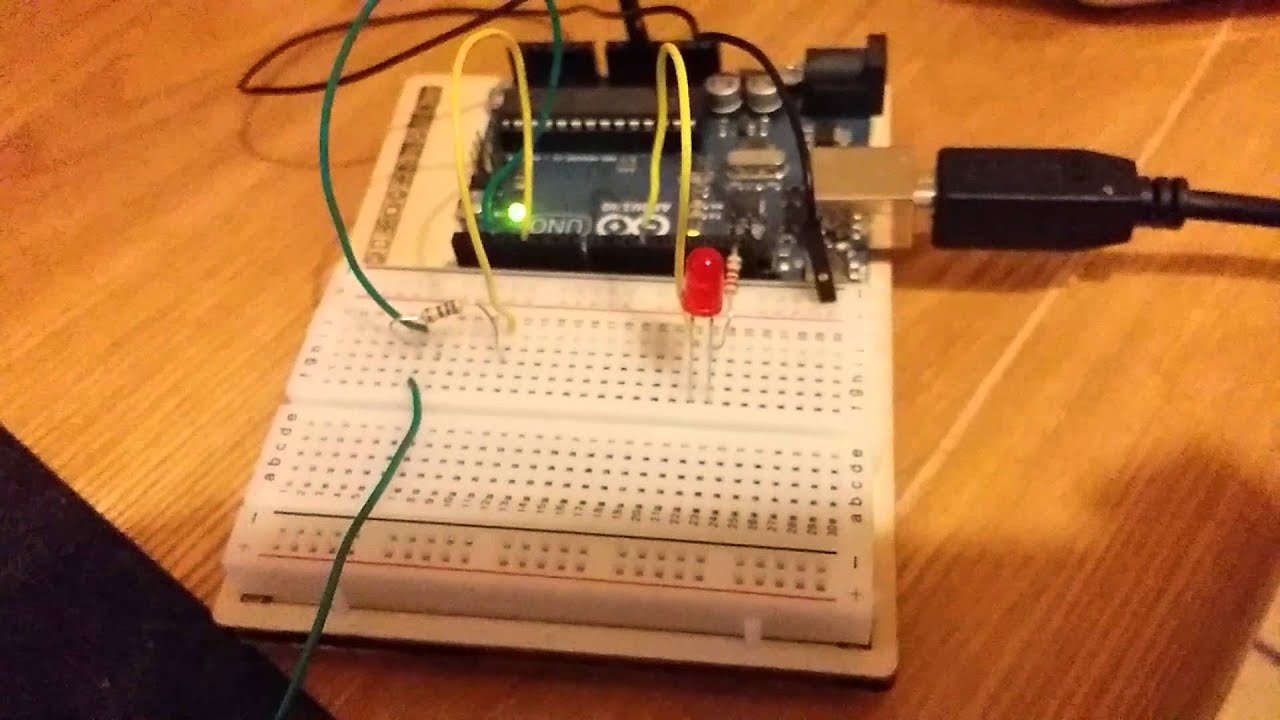
Project 3, was the first Arduino project that required me to use my own physical touch to create a heat measuring device. This was different from the digital input of a button from earlier projects. Some problems that I had with this project was that it was hard to find the right values for the temperatures, so that the lights would light up at the right times This project helped set me up to use other forms of physical input in later projects.
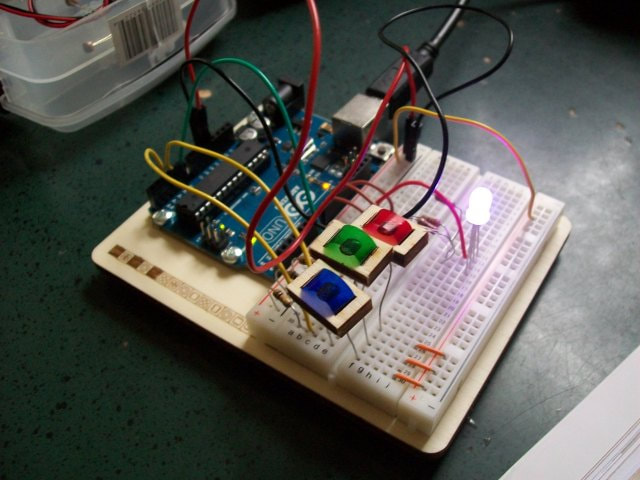
Project4~Color Mixing Lamp
|
|
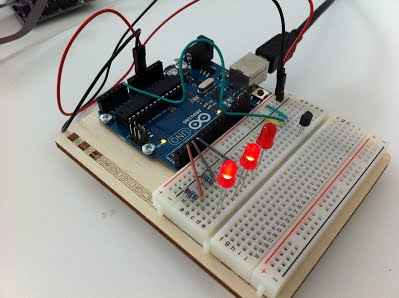
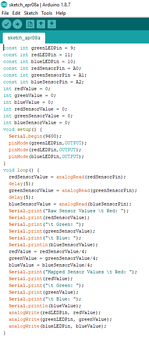
In project 4, I learned how to use photo-transistors to mix a color in an LED. With a little bit of persuasion I was able to fit the photo-transistors on the breadboard, I was then able to write the code and create a working device.
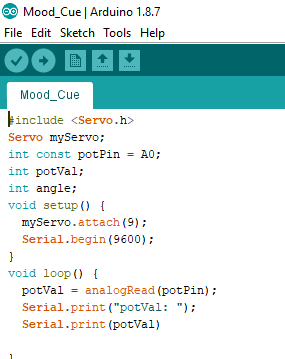
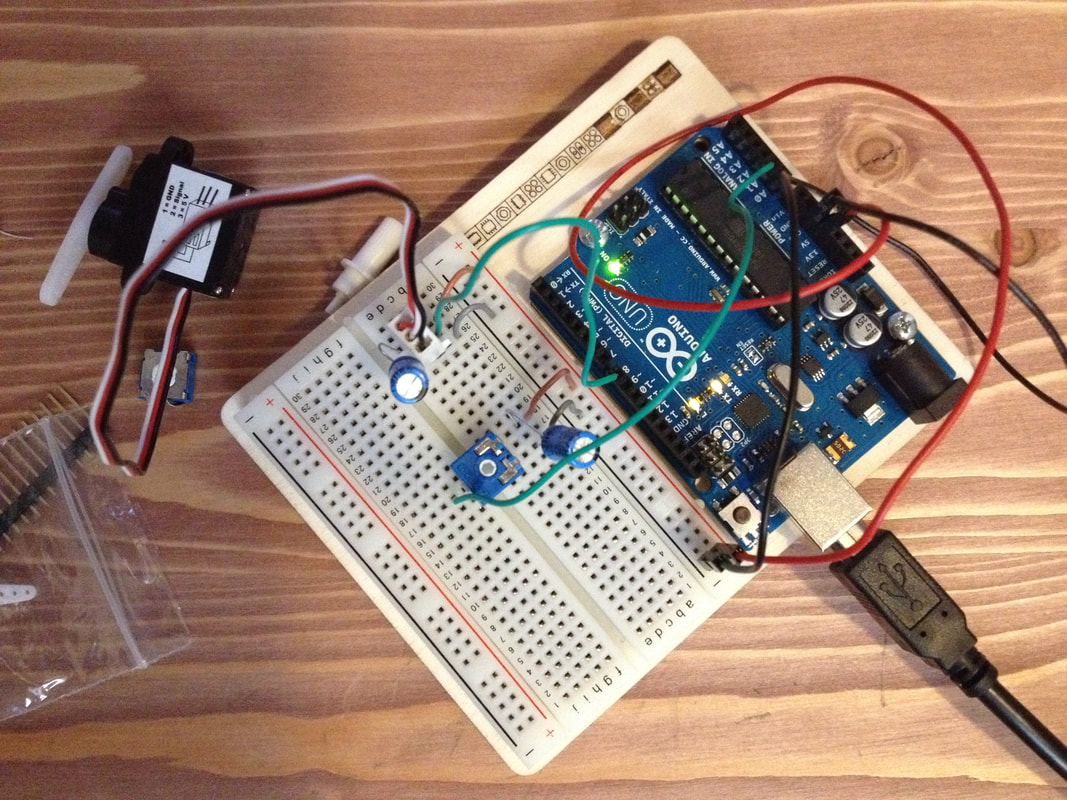
Project 5~Mood Cue
|
|
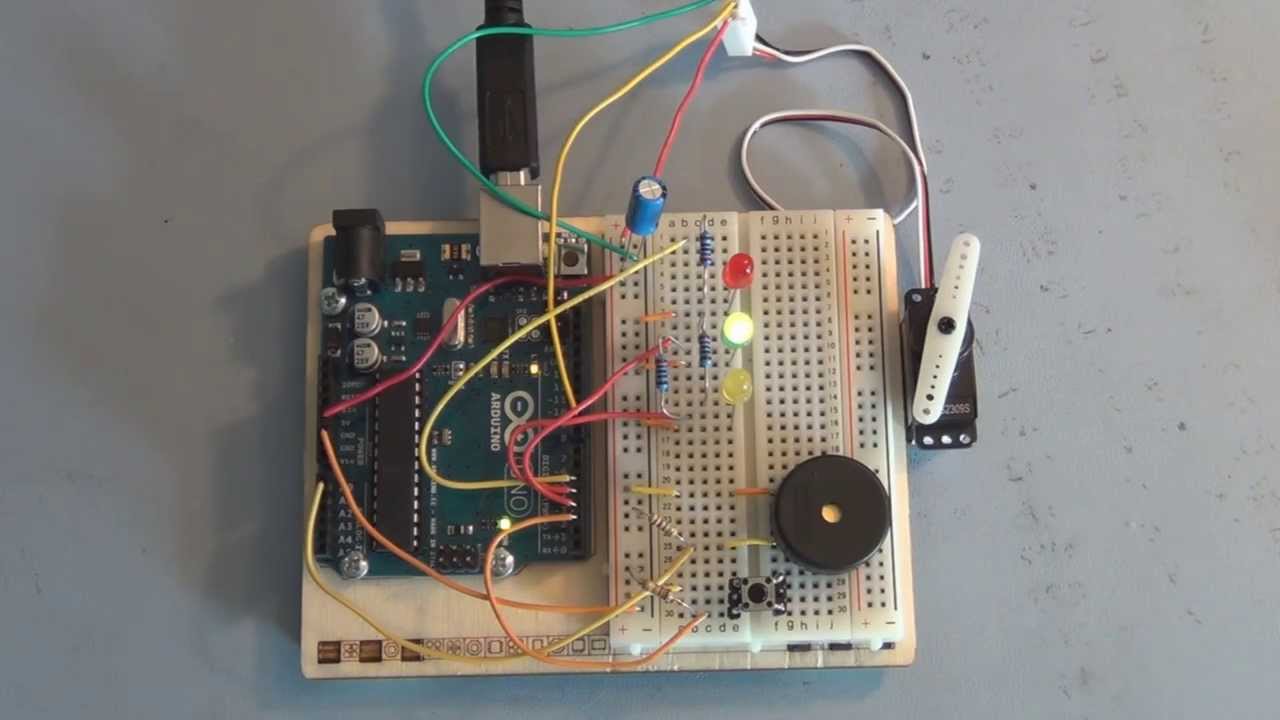
In project 5, I had a little bit of trouble getting the servo to work. It turned out that I needed power to the control switch. The build diagram was wrong and it threw me off. I then figured out that the servo wiring was wrong too, the colors didn't match their locations on the build diagram. After I made the two corrections it worked as it should. In this project, I learned that the build diagram isn't always right, and I might have to adjust it to fit my needs.
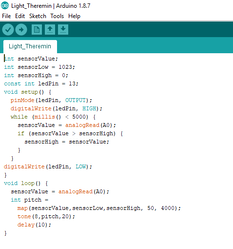
Project 6~Light Thermin
|
|
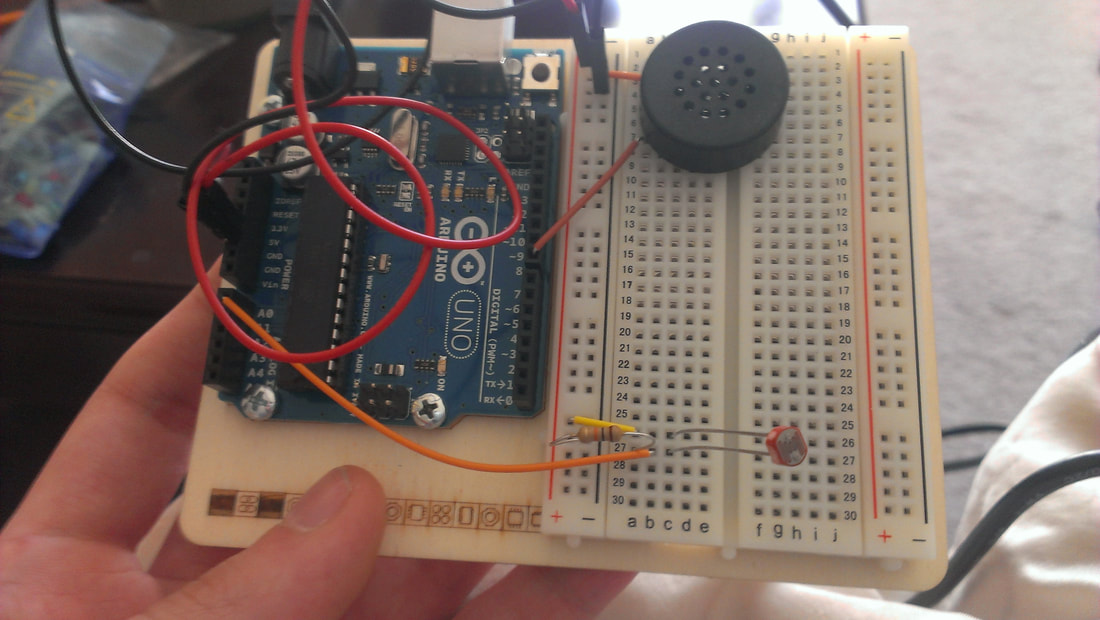
In project 6, it was made from a shorter length of code, and the build was pretty easy to follow along and put together.In this project, it allowed me to change the pitch of a piezo, by changing the distance between my finger and the sensor. This project taught me what a piezo is, as well as, how to work with piezos.
Project 7~Keyboard Instrument
|
|
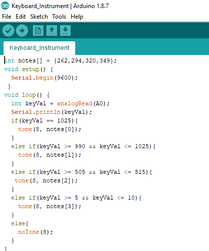
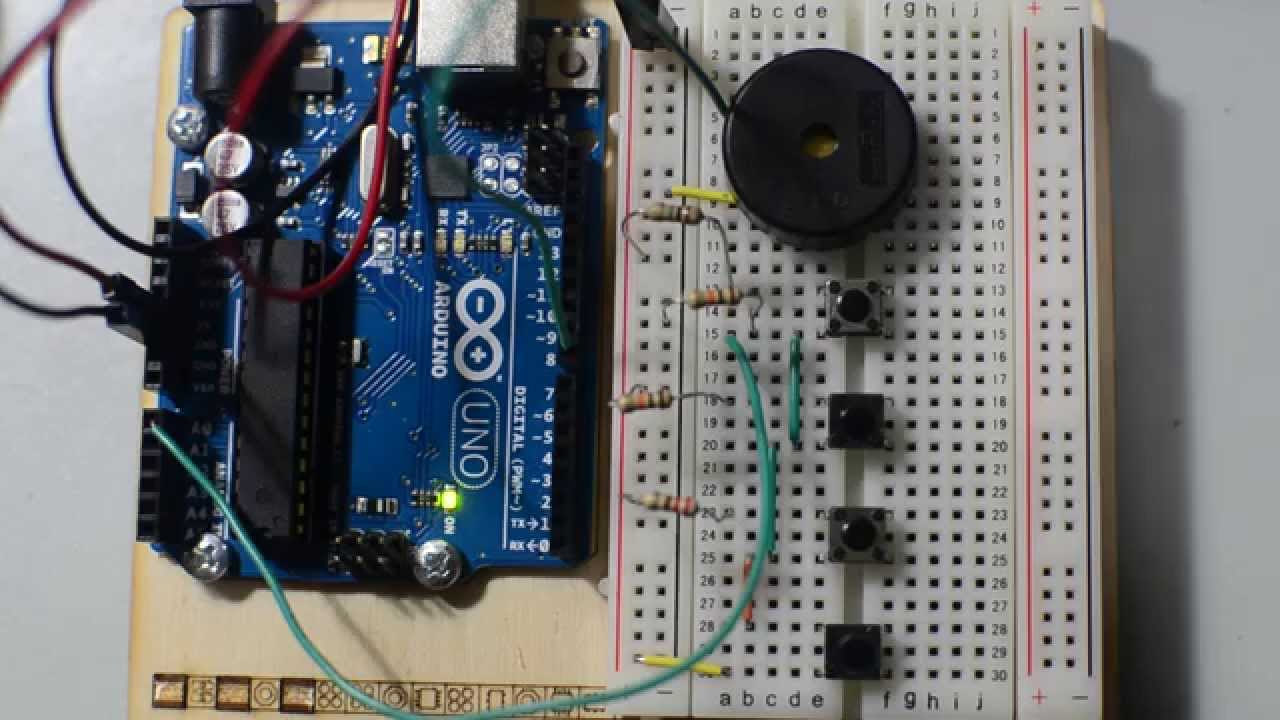
In project 7, I created an interactive instrument. I did this by using different types of resistors, along with a code I wrote that provided varying pitches, this project used 4 different buttons, that all had a different pitch of sound.
Project 8~Digital Hourglass
|
|
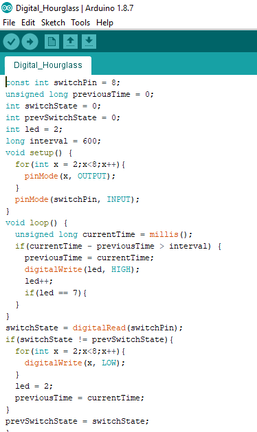
In project 8, we had to adjust timers in order to create a time measuring device. In this project I had to adjust the code. The original code set it for 1 hour, I changed it to 30 seconds. That was my only problem, otherwise it was pretty easy to make.
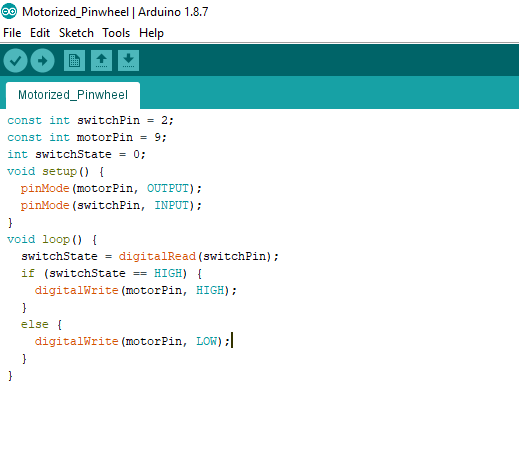
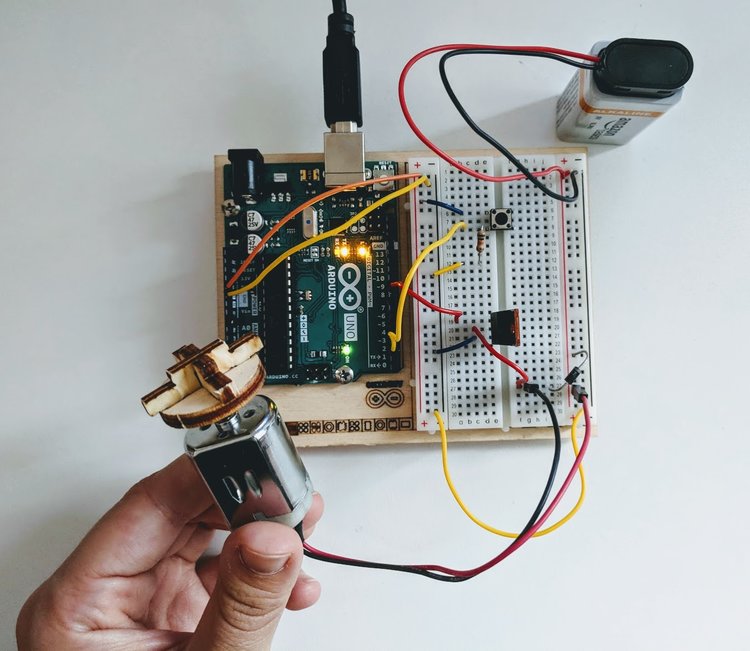
Project 9~Motorized Pinwheel
|
|
The Motorized Pinwheel was a project that took some more work than the others. The problem was that the ends of the motor wires kept falling out . I also had a little bit of trouble with keeping the pinwheel on the motor. To solve this I used masking tape to hold it down.
Project 10~Zoetrope
|
|
The Zeotrope was one of the hardest I have done so far, the wiring of the breadboard was hard as well as the writing of the code. Even though, I had many problems with this project, it all worked out in the end. It was a a good learning experience though.
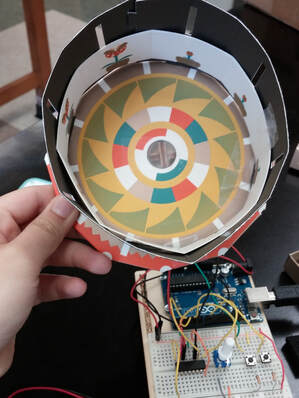
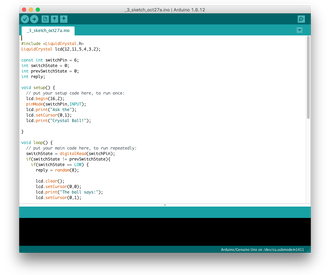
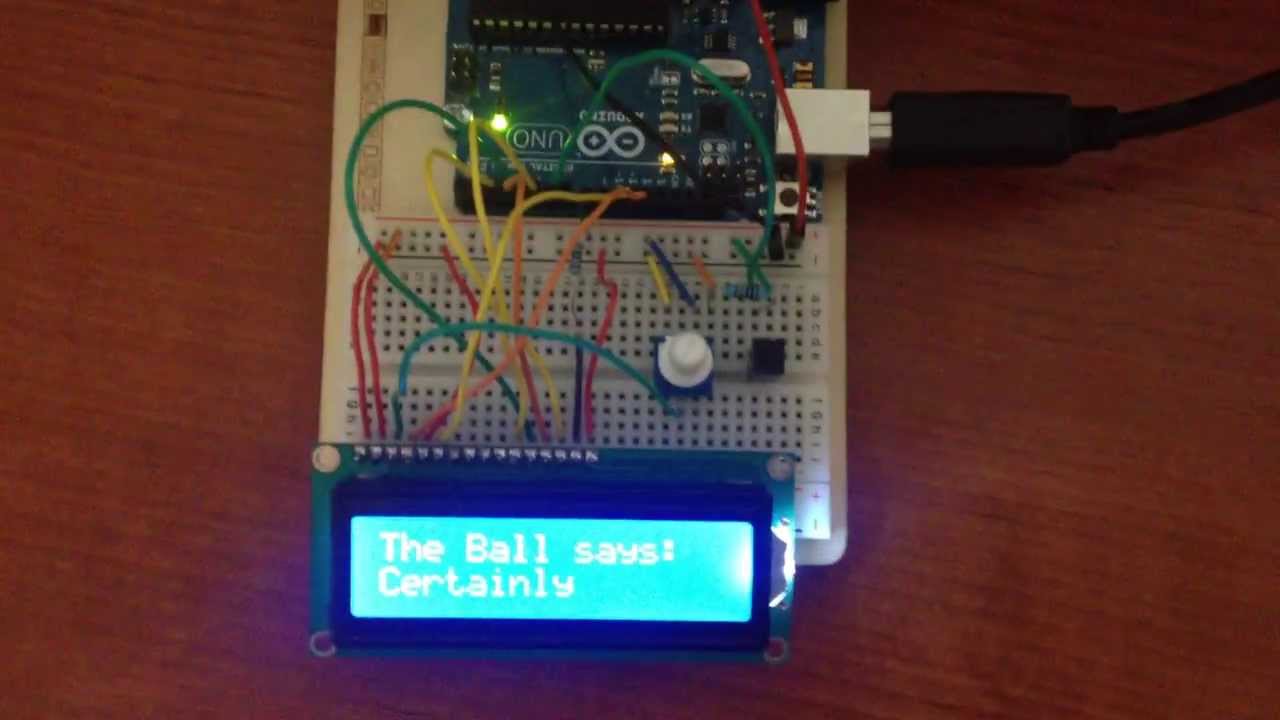
Project 11~Crystal Ball
|
|
In project 11, there were a lot of wires that were bunched together, and made this build the hardest I have done. It took awhile to get the predictions working. What happened, was one of the ground wires came apart. After I fixed the ground wire, everything worked like it should.
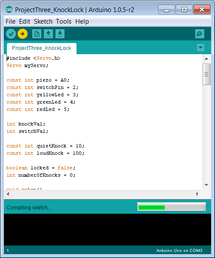
Project 12~Knock Lock
|
|
Project 12, was probably the hardest Arduino projects in the book. The code was very long and complex, as well as the breadboard build. This caused a lot of errors in both. The knock values that I coded were too low to include other knocks that picked up when I knocked. This was why the project would stop working, as soon as I started it up. Finally, after lots of modifications, I got the Knock Lock to work.
Project 13~Touchy-Feely Lamp
|
|
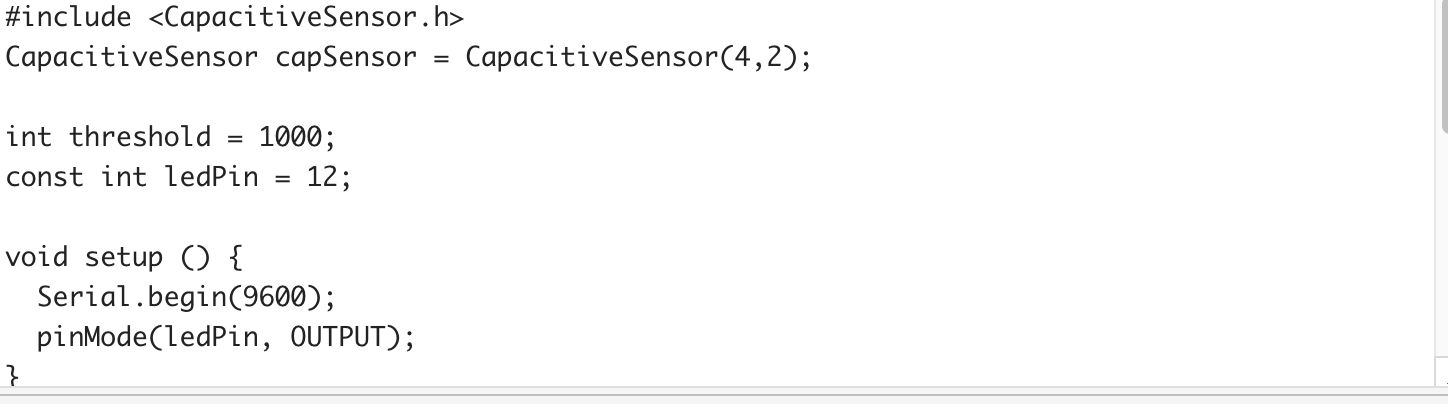
Project 13 was the final project, it was pretty easy to build, and the code was very easy to write. It worked on the second try for me. The only problem that I experienced was my code could was missing a couple colons. After that my project worked perfectly.
Summary
Throughout all of the Arduino projects, I learned a lot of things about how to code because I have never done this before. I also learned a lot about how to build a breadboard. I also learned how to change the breadboard and code to satisfy the projects needs. to better suit my needs. An example of this was when I had to switch the wiring around for the mood cue, to get it to work properly. In this project, I gained a lot of knowledge. I learned how to switch components in a breadboard to have it work. In addition, I learned how to adjust a sketch's code to fit the project that I am building. I learned this on the Love-O-Meter project, I had to adjust the baseline temperature so that it would work properly. All in all I learned a lot about coding and Arduino. It is something that I could potentially use in the future.
