
Coin Holder
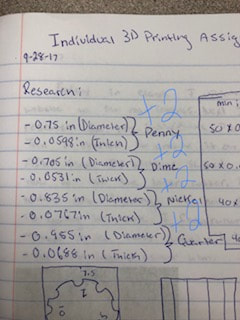
The very first thing I did to create this coin holder was draw it in my designer notebook.
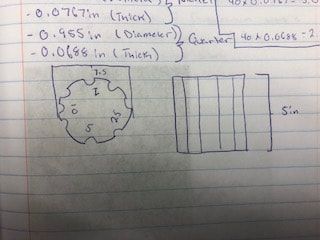
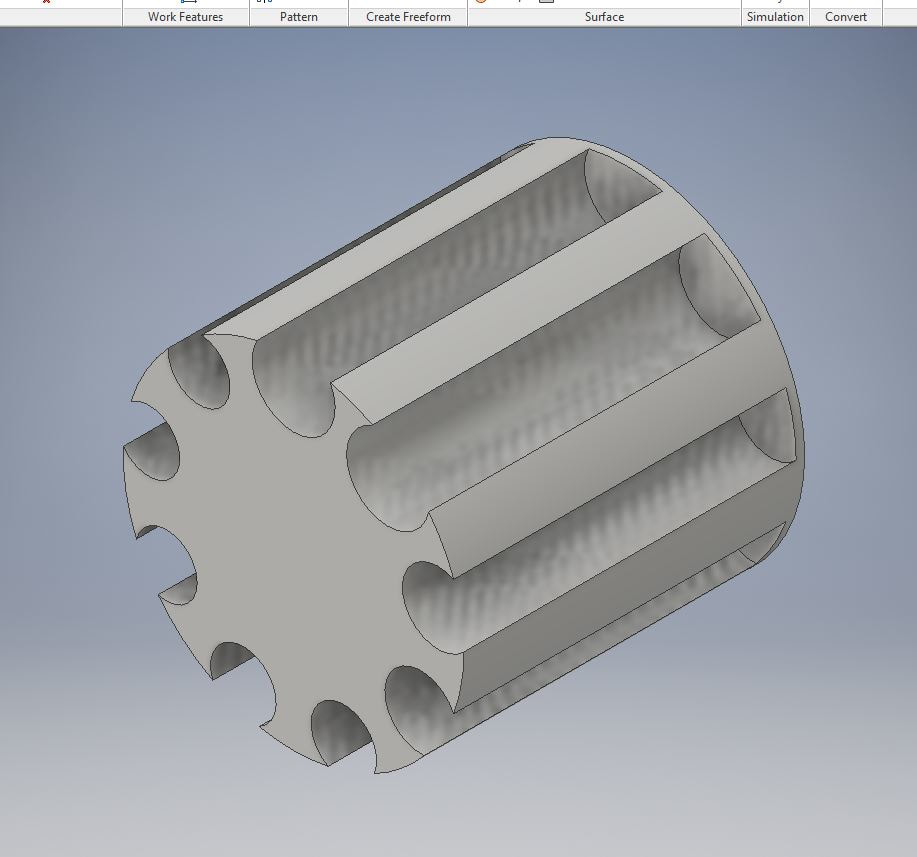
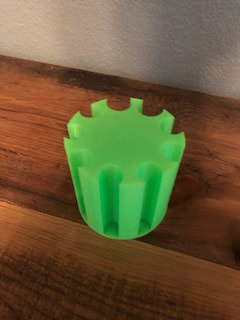
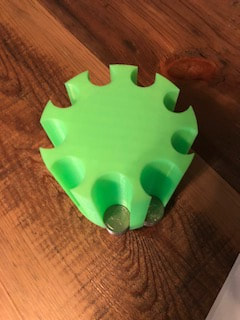
How to create this coin holder. First I created a new inventor file. Next I made a circle that was four inches in diameter. Then I extruded the circle four inches. Next I created a new sketch on top of the circle. After that I used a combination of the point tool and the circular motion tool to create evenly spaced circles for my coin holes. I created three dime holes, 2 quarter, penny, and nickel holes.
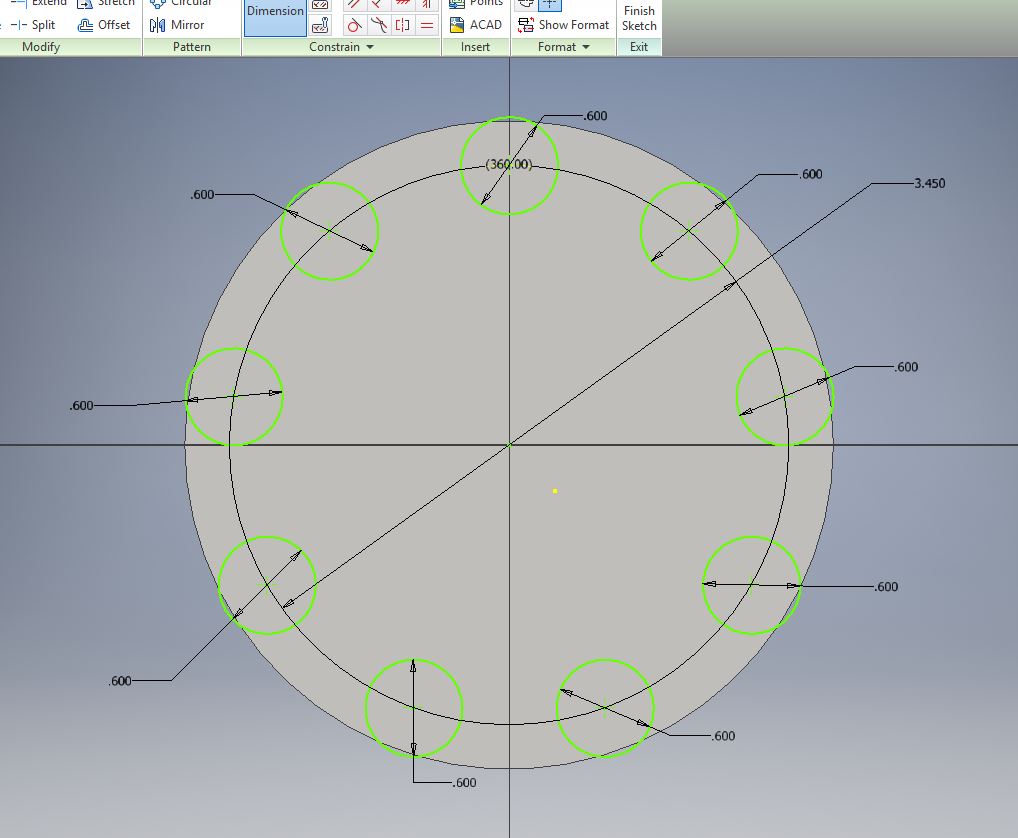
Next I made the dimensions for all the circles two one-hundredths larger than the actual size of each coin. Then I trimmed off the parts of the circle that hung over the edge of the actual circle.
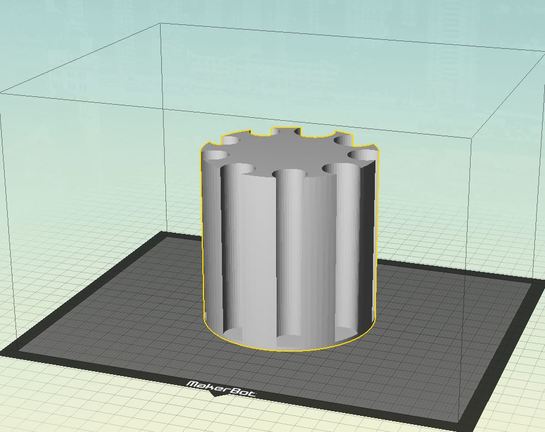
After I completed the dimensions of the holes I finished the sketch. Then I extruded the circles 3.90 inches into the coin holder. Once I finished that I went to save as and saved it as an STL file. Next I went into makerbot and opened the file.
|
|
After that was done I changed the size to 1000. Then I clicked preview and then I exported the file to my flash drive.
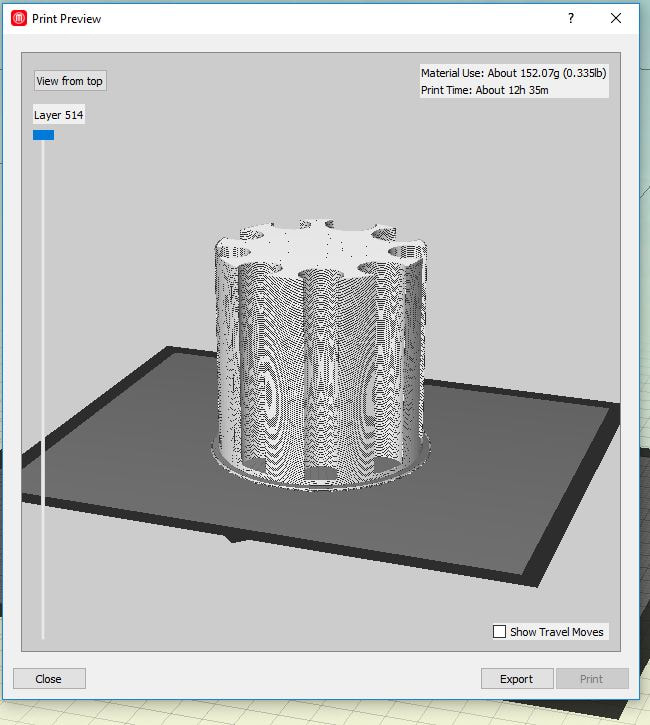
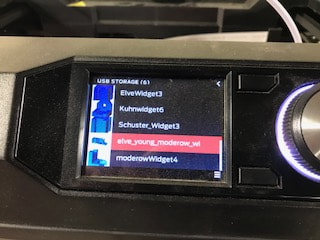
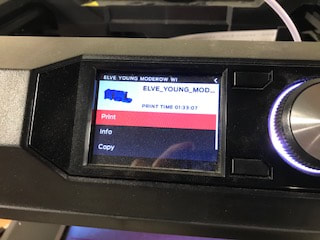
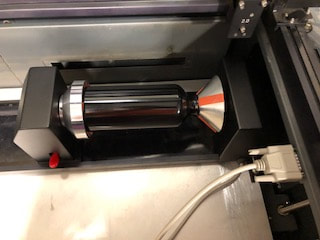
After I saved it to the flash drive I took it to the 3D Printer. At the printer I clicked on Print-Selected My File-Print.
|
|
Once that is completed I waited for the print to finish (About 10 Hours).
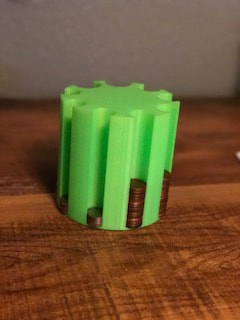
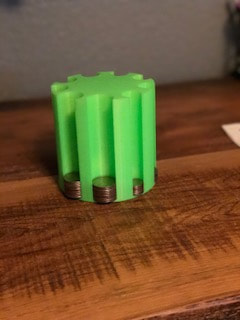
Holder With Coins
|
|
|
What I Learned
In the 3D Printing rotation I learned a lot more about the machines and Inventor. On the printer I learned how to change the color of the printer and I learned how to properly handle the printer when moving it. On Inventor I learned new feature. The features I learned include the circular tool to evenly space my circles, and I also learned how to create a construction line. This experience has been very rewarding and I hope to be able to do this again.
Laser Cutter
Water Bottle
The first thing I did to create the water bottle was sketch it out in my journal.
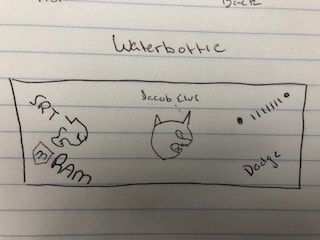
Next I went to illustrator and entered the dimensions on the water bottle. Then I entered my name in a text box and centered it near the top.
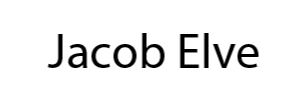
After that I inserted all the logos I wanted to engrave on the bottle.
Once that was done I positioned them as in the picture above. Then I uploaded the file to a flash drive and brought it to the laser.
|
|
I then engraved the water bottle.
(Water Bottle is done just forgot a picture before I brought it home)
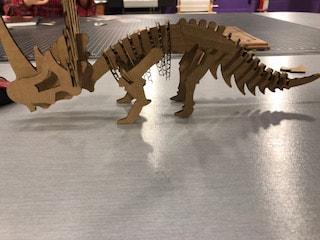
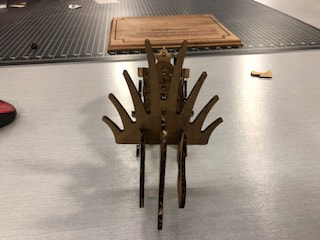
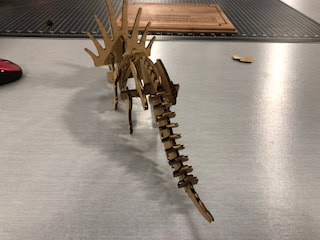
3D Laser Cut Out
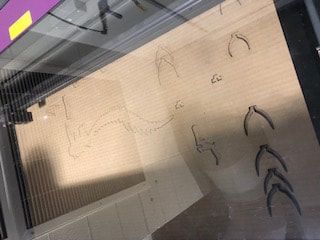
The first thing I did to create the dinosaur was sketch it out in my journal.
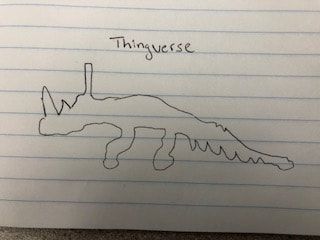
Next I went to Thingverse to find a plan for the dinosaur. Then I downloaded the files and entered them into Illustrator.
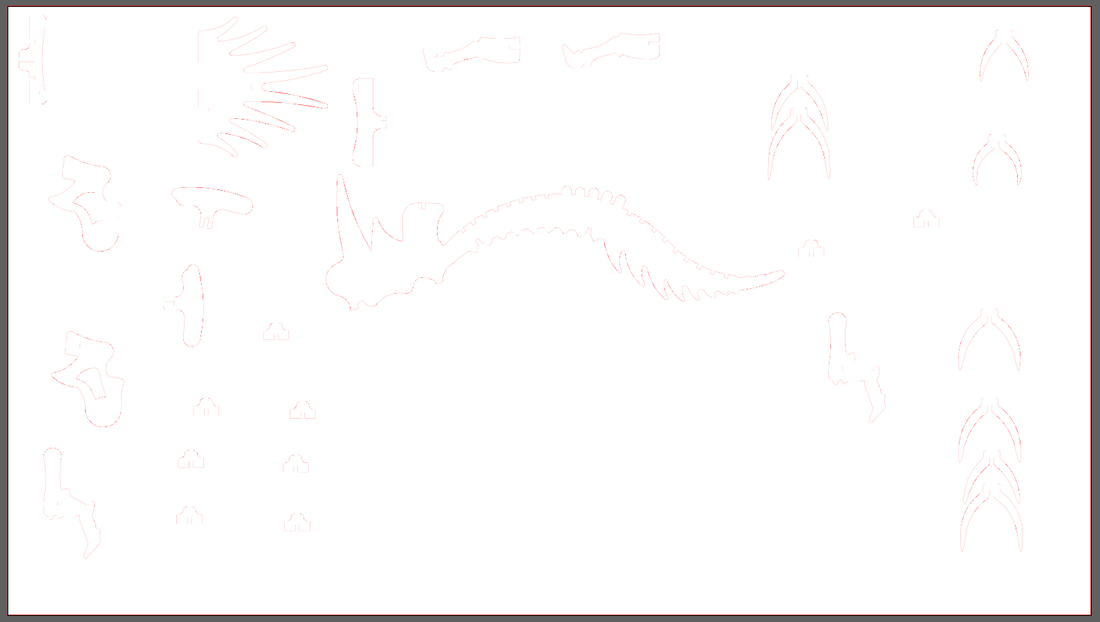
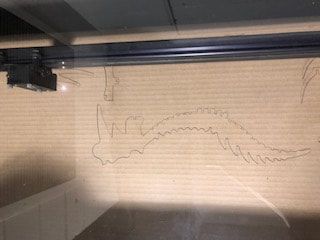
Once that was done I positioned them as in the picture above. Then I uploaded the file to a flash drive and brought it to the laser. Them I uploaded the file and cut it out.
|
|
|
|
|
Notebook
The first thing I did to create the notebook was sketch it out in my journal.
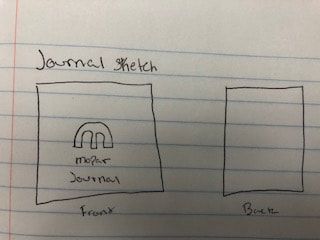
Next I went to illustrator and entered the dimensions on the notebook. Then I entered Journal in a text box and centered it near the bottom and then added a mopar logo and writing.
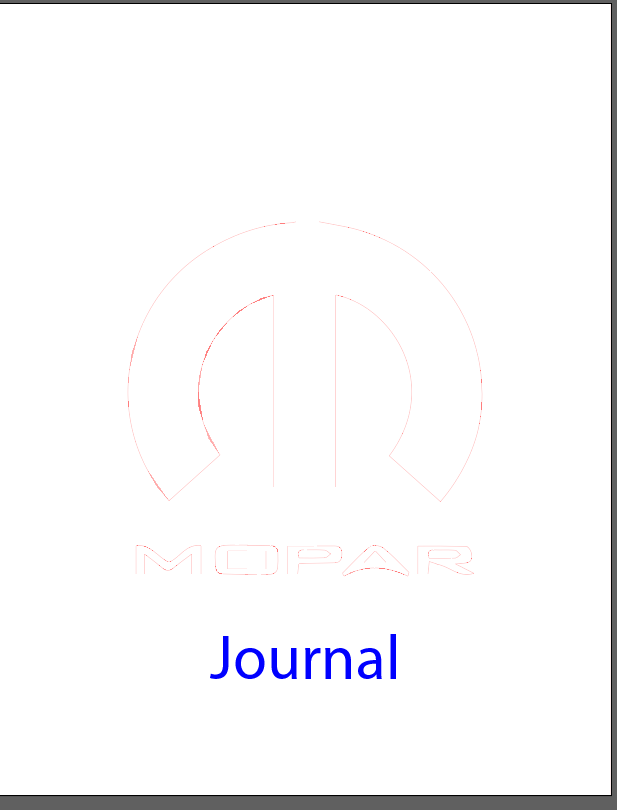
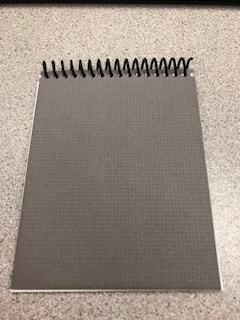
Front
|

Back
|
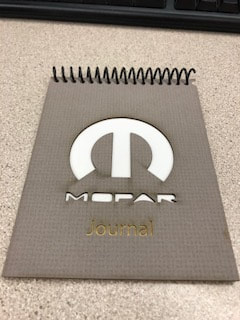
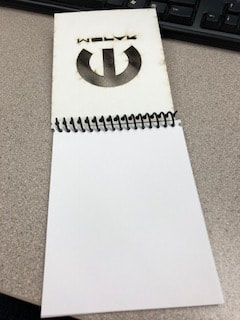
Once that was done I positioned them as in the picture above. Then I uploaded the file to a flash drive and brought it to the laser. Them I uploaded the file and cut it out.
|
|
|
What I Learned
In the Laser rotation I learned a lot more about the machine and Illustrator. On the printer I learned how to change the color of the printer and I learned how to properly handle the printer when moving it. On Inventor I learned new feature. The features I learned include the circular tool to evenly space my circles, and I also learned how to create a construction line. This experience has been very rewarding and I hope to be able to do this again.
